How to Add a Word Cloud to Google Slides Fast
Learn quick methods to add a word cloud to Google Slides using online tools, live add-ons, or manual techniques. Get started now!

The fastest way to add a word cloud to Google Slides is to generate one as an image with a web tool, download it as PNG or SVG, and insert it directly into your slide. Google Slides has no built-in word cloud feature, so every practical workflow starts outside the app. Three methods cover nearly every use case:
- External image generator (fastest): Create a cloud at a web generator, download PNG or SVG, and insert via Insert > Image. Ready in under five minutes, no account needed.
- Live add-on (interactive): Use a live polling service to collect real-time audience responses and display a growing cloud during your presentation. Best for icebreakers and Q&A sessions.
- Manual Slides workaround: Use Google Slides’ WordArt and text boxes to approximate a cloud layout. Slowest option, but works offline with zero third-party tools.
Key Takeaways
Adding a word cloud to Google Slides takes under seven minutes with an external generator, a PNG or SVG download, and a standard Insert > Image step.
| Point | Details |
|---|---|
| No built-in tool in Slides | Google Slides requires an external generator; download the image and insert it via Insert > Image. |
| Fastest method | External image generator (5–7 min), no account needed, works offline during the presentation. |
| Best export format | SVG for crisp scaling across layouts; PNG with transparent background for layered slides. |
| Ideal word count | Keep the list to 15–25 terms for readable, presentation-ready results. |
| Wordcloudgenerator | Free, no-signup tool with PNG/SVG export, 26 fonts, and 12 color themes built for slide use. |
Table of Contents
- How do you add a word cloud in Google Slides?
- Which method fits your situation?
- How to run a live, interactive word cloud during a presentation
- Design tips for a presentation-ready word cloud
- Troubleshooting common word cloud issues in Google Slides
- What Wordcloudgenerator does for Google Slides users
- How long does each method take, and what does it cost?
- Export settings that actually hold up in Slides
- When a word cloud is the right visual (and when it isn’t)
- Wordcloudgenerator gets your slide ready in under five minutes
- Sources
How do you add a word cloud in Google Slides?
Slidesgo confirms that Google Slides has no native word cloud tool, so the external-generator workflow is the standard approach. Here is the full process, start to finish:
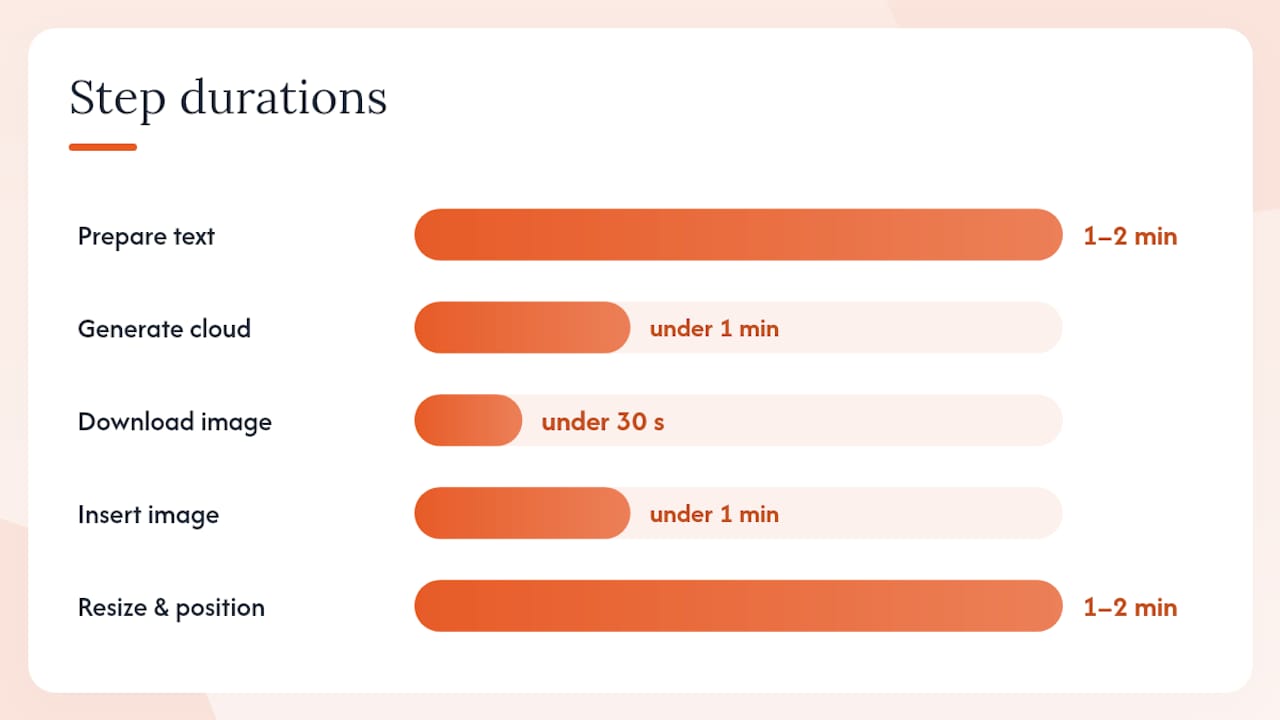
- Prepare your text (1–2 minutes): Collect the words or phrases you want to visualize. Paste them into a plain text document, a CSV file, or just keep them ready to type. Remove filler words like “the,” “and,” and “is” now so the generator doesn’t have to.
- Generate the cloud (under 1 minute): Open a web-based word cloud generator. Paste your text, choose a font and color theme, and hit generate. The cloud renders in seconds.
- Download PNG or SVG (under 30 seconds): Slidestack recommends PNG for quick use and SVG for better scaling when you plan to resize the image across different slide layouts.
- Open your Google Slides deck (immediate): Navigate to the slide where you want the cloud.
- Insert the image (under 1 minute): Click Insert > Image > Upload from computer, select your downloaded file, and click Open. The cloud appears on the slide.
- Resize and position (1–2 minutes): Drag the corners to scale, then position the cloud where it fits your layout. Hold Shift while dragging to preserve the aspect ratio.
Total time: roughly 5–7 minutes from blank page to finished slide.
Pro Tip: Export SVG whenever the generator offers it. SVG files scale without losing sharpness, so your cloud stays crisp whether you’re presenting on a laptop screen or a 4K projector. If you need a transparent background for layered slides, export PNG and check the “transparent background” option before downloading.
Which method fits your situation?
The three approaches differ enough that picking the wrong one costs real time.
External image generator suits most presenters. You get full design control, no internet dependency during the actual presentation, and a file you can reuse. The cloud is static, which is fine for summarizing survey results, highlighting themes, or decorating a title slide.
Live interactive cloud works best when audience participation is the point. A live polling service collects typed responses from attendees’ phones or laptops and builds the cloud in real time on your screen. The visual grows as people submit words, which creates genuine engagement during icebreakers or open-ended Q&A. The trade-off: you need reliable internet for both you and your audience, and free-tier plans cap response counts. Poll Everywhere’s documentation notes that free educator accounts are limited to 40 responses and free business accounts to 25, so check your expected audience size before committing to a free plan.
Manual Slides workaround uses WordArt and text boxes arranged by hand. It looks rough compared to a generated cloud, and sizing words by frequency manually is tedious. Use it only when you’re offline, blocked from third-party sites, or need a quick placeholder.
| Method | Speed | Interactivity | Editability | Needs internet during presentation |
|---|---|---|---|---|
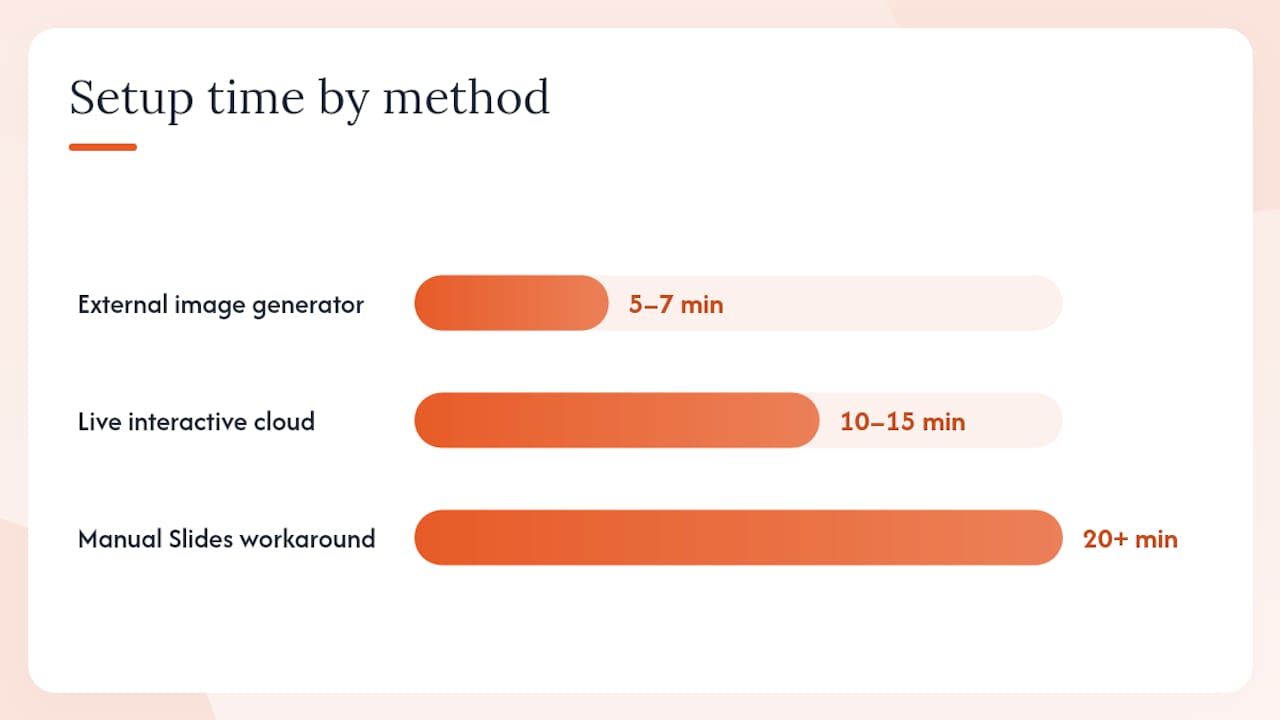
| External image generator | Fast (5–7 min) | None (static) | Re-generate to edit | No |
| Live add-on | Setup 10–15 min | Real-time audience input | Updates live | Yes (presenter + audience) |
| Manual Slides workaround | Slow (20+ min) | None | Editable in Slides | No |
How to run a live, interactive word cloud during a presentation
A live cloud turns your audience into contributors. Here is how to set one up:
- Create a live word cloud slide in your chosen polling service and connect it to your Google Slides presentation, either by embedding a live URL on a slide or switching to the polling service’s presenter view.
- Set your session parameters: limit each participant to a few word submissions to keep the cloud readable, and set a response window of about a minute or so so the energy stays high.
- Enable word filters: turn on profanity filtering and, if the service supports it, smart grouping that merges near-identical responses (e.g., “team” and “teams” count as one).
- Share the entry point: display a QR code and a short URL simultaneously on the slide before you switch to the live cloud view. Audiences join faster when they have both options.
- Close submissions when the cloud looks full enough to discuss, then use the frozen cloud as a talking point.
AhaSlides’ documentation notes that live cloud tools can support a high number of total submissions suitable for most conference and classroom scenarios with timer and close-submissions controls, which covers most conference and classroom scenarios.
Pro Tip: Collect responses in advance using a Google Form with a short-text question, export the answers as a CSV, and feed that file into a word cloud generator. You get a polished static cloud without needing live internet during the session, and you can moderate the responses before anyone sees them.
Design tips for a presentation-ready word cloud
A word cloud that looks great on your laptop screen can become an unreadable blur on a projector. These fixes prevent the most common problems:
- Limit your word list to 15–25 terms. Slidesgo’s guidance backs this range as the sweet spot between information density and legibility. More than 30 words and the smallest entries become unreadable at presentation size.
- Remove stop words before generating. Words like “the,” “a,” “is,” and “very” inflate the cloud without adding meaning. Most generators include a stop-word filter; use it.
- Choose 2–3 colors maximum. A cloud with eight colors looks festive but communicates nothing. Pick a palette that matches your slide theme, with enough contrast between the word colors and the background.
- Scale top words aggressively. The most important word should be noticeably larger than the second-tier words. If everything looks the same size, the frequency signal disappears.
- Use a transparent or white background so the cloud sits cleanly on any slide color. SlideEgg’s tutorial recommends aligning the cloud’s color style with the overall slide theme for a polished result.
- Accessibility check: verify that word colors meet a 4.5:1 contrast ratio against the background, keep the largest words at least 18pt equivalent, and add alt text to the image in Slides (right-click the image > Alt text) so screen readers can describe it.
For complementary visuals alongside a word cloud, icon libraries like Flaticon offer matching icons that keep your slide aesthetic consistent without adding visual noise.
Troubleshooting common word cloud issues in Google Slides
- Blurry or pixelated image after inserting: You exported a low-resolution PNG. Re-generate and download at the highest available resolution, or switch to SVG, which has no pixel ceiling.
- Words are too small to read: Your word list is too long, or the frequency spread is too flat. Cut the list to under 25 words and increase the font-size multiplier in the generator settings.
- Third-party content blocked by your organization: Some school or corporate networks block external generator sites. Download the image at home or on a personal device, then upload it to Google Drive and insert from Drive.
- Live add-on won’t load during the presentation: This is almost always a network issue. Switch to a mobile hotspot, or fall back to the pre-generated static image you should always have as a backup.
- Audience response limit hit mid-session: You’ve exceeded the free plan cap. Either upgrade before the event or collect responses via Google Forms in advance and generate a static cloud instead.
- Need to edit the cloud after export: You can’t edit a PNG inside Slides. Go back to the generator, adjust your settings, and re-export. For minor layout tweaks, use Slides’ crop and color-overlay tools to mask or reframe the image without regenerating.
- Presenting offline or on low bandwidth: Skip live add-ons entirely. Generate your cloud beforehand, export as PNG or SVG, and embed the file directly in the deck so it loads with no internet connection.
What Wordcloudgenerator does for Google Slides users
Wordcloudgenerator is built for exactly the workflow this article describes: paste text, generate, download, insert. No account required to get a finished file.
Key features relevant to Slides users:
- Three input methods: paste text directly, upload a CSV, or pull from YouTube comments for audience-sourced content.
- 26 fonts and 12 color themes for matching your slide design without manual color-picking.
- Stop-word filtering and number filtering built in, so you don’t have to clean your text manually.
- PNG, JPEG, and SVG export at high resolution, ready to insert via Insert > Image.
- No signup required for core generation and download; create an optional account to save and revisit projects.
Use cases that map directly to Google Slides: summarizing open survey responses for a marketing deck, visualizing student feedback in an education presentation, or building a branded word cloud for an event title slide. The presentation how-to guide on the site covers export settings and layout examples specifically for slide use.
How long does each method take, and what does it cost?
Static image method: 5–7 minutes total. Free at most web generators, including Wordcloudgenerator, with no signup needed. Optional paid features at some tools cover team storage or branded exports, but the core generate-and-download flow costs nothing.
Live interactive cloud: 10–15 minutes of setup before the presentation, plus the live session time. Free tiers on polling services cap response counts (25–40 on most free plans), which works for small groups. Larger audiences or advanced moderation features typically require a paid plan.
Manual Slides workaround: 20 minutes or more, and entirely free since it uses only Google Slides’ built-in tools. The time cost rarely justifies the result compared to a free generator.
The practical takeaway: for most presenters, the free word cloud generator route delivers a slide-ready image faster than any alternative, at zero cost.
Export settings that actually hold up in Slides
From practical testing of common generator outputs, a few settings consistently produce better results when the image lands in Google Slides:
- PNG at maximum available resolution is the safest default. Most generators offer a standard export; always choose the highest pixel option if multiple sizes are available.
- SVG for any cloud you plan to resize. Vector files scale to any dimension without degradation, which matters when you’re adapting a deck from a 16:9 laptop layout to a widescreen display or printed handout.
- Transparent background lets the cloud sit over colored slide backgrounds cleanly. Opaque white backgrounds create a visible box around the cloud, which looks unfinished on non-white slides.
- High contrast color pairs (dark words on light background, or light words on a dark slide) hold up better under projector wash-out than mid-tone palettes.
- Test on mobile before presenting. Slides decks are often viewed on phones during hybrid meetings. A cloud that reads well on a desktop can become illegible at phone scale if the smallest words are too small.
The word frequency analysis guide on Wordcloudgenerator explains how frequency weighting affects which words appear largest, which helps you predict how your cloud will look before you generate it.
When a word cloud is the right visual (and when it isn’t)
Word clouds earn their place in two specific situations: icebreakers where the visual itself is the engagement mechanism, and summaries of open-ended text responses where showing the spread of answers matters more than precise counts. In both cases, the cloud’s imprecision is a feature, not a bug. Audiences read the overall shape and the dominant words; they don’t need exact frequencies.
Where word clouds fail is quantitative data. If you need to show that 62% of respondents chose one option and 18% chose another, a bar chart or treemap communicates that with precision a cloud cannot. Displayr’s analysis of word cloud alternatives points to circle packing and bar grids as stronger choices when frequency accuracy matters. Use a cloud when the texture of language is the story; use a chart when the numbers are.
Wordcloudgenerator gets your slide ready in under five minutes
Generating a word cloud for a presentation doesn’t need to be a multi-step production. Wordcloudgenerator gives you instant results with no account, no watermark on the free export, and direct PNG or SVG download sized for slide use. Paste your text, pick a font from 26 options and a color theme from 12, filter out stop words, and download. That’s the whole process.
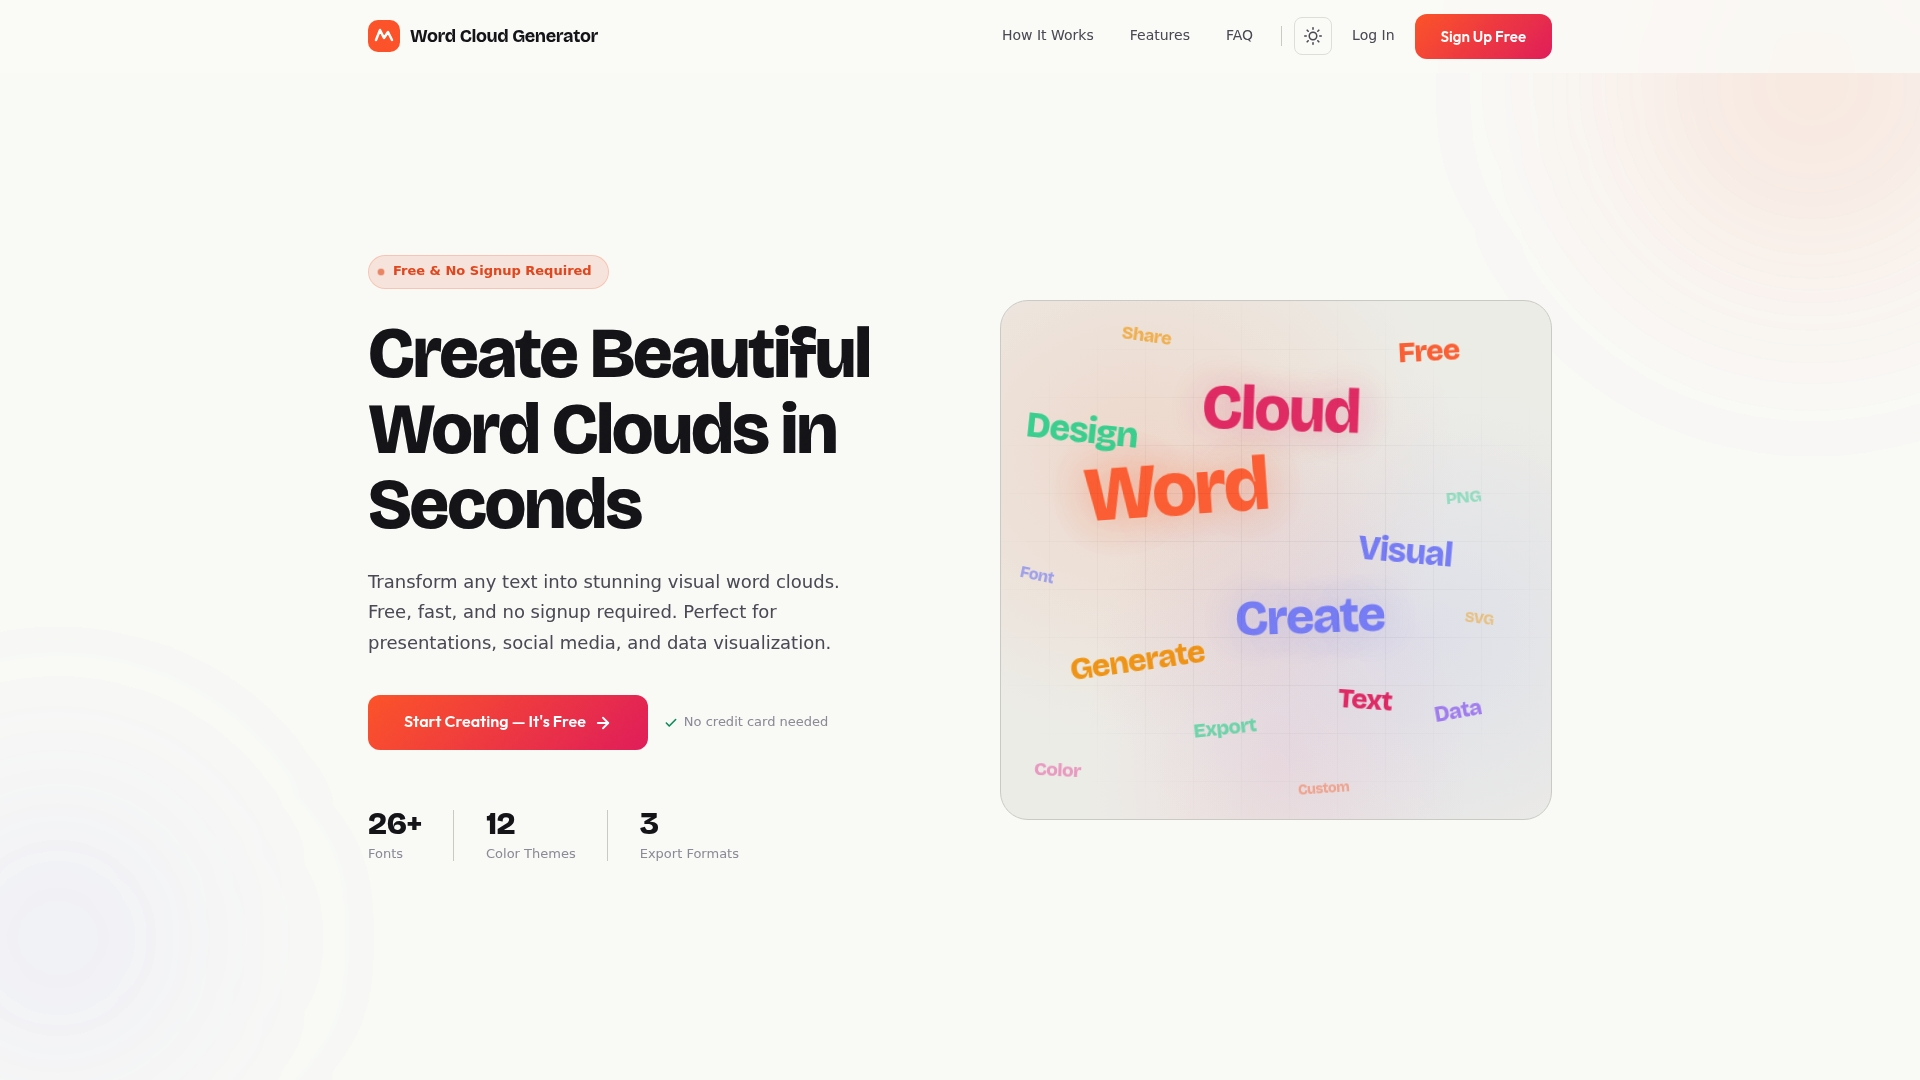
A presenter building a marketing recap slide can paste survey responses, generate a cloud that matches the deck’s brand colors, and have a finished image ready before the next meeting starts. For creative uses across marketing and education, the same tool handles CSV uploads and YouTube comment pulls without any extra setup. Head to the free word cloud generator and have your slide-ready image in minutes.
Sources
- How to create a word cloud in Google Slides | Slidesgo
- How to Easily Make a Word Cloud in Google Slides | Slidestack
- How to Create a Word Cloud in Google Slides – Easy Steps